Back in July of 2017 I drew up plans and got a permit to convert the unfinished portion of my basement into a bedroom and bathroom. After a ton of nights and weekends, it has passed the final inspection!
I am very thankful for my dad, father-in-law, wife, brother-in-law (Adam), and friends (especially Nate — I’m looking forward to helping you finish out your basement now!) who helped during this process.
Here are a bunch of pictures that documented the process.
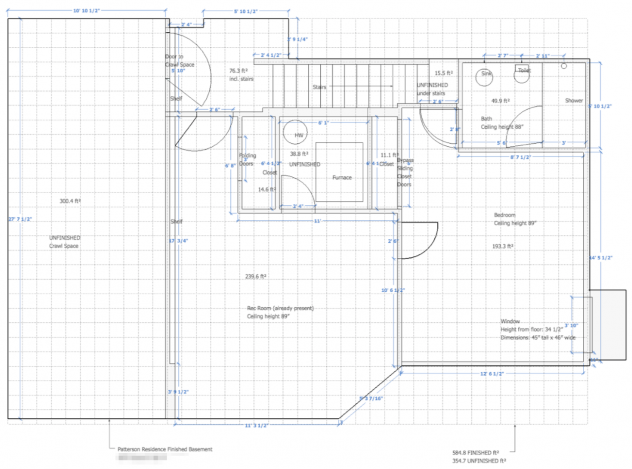
This is the initial plans I drew up for the basement level of the house. Everything to the right of the Rec Room was new construction for the bedroom, closet(s) and bath.
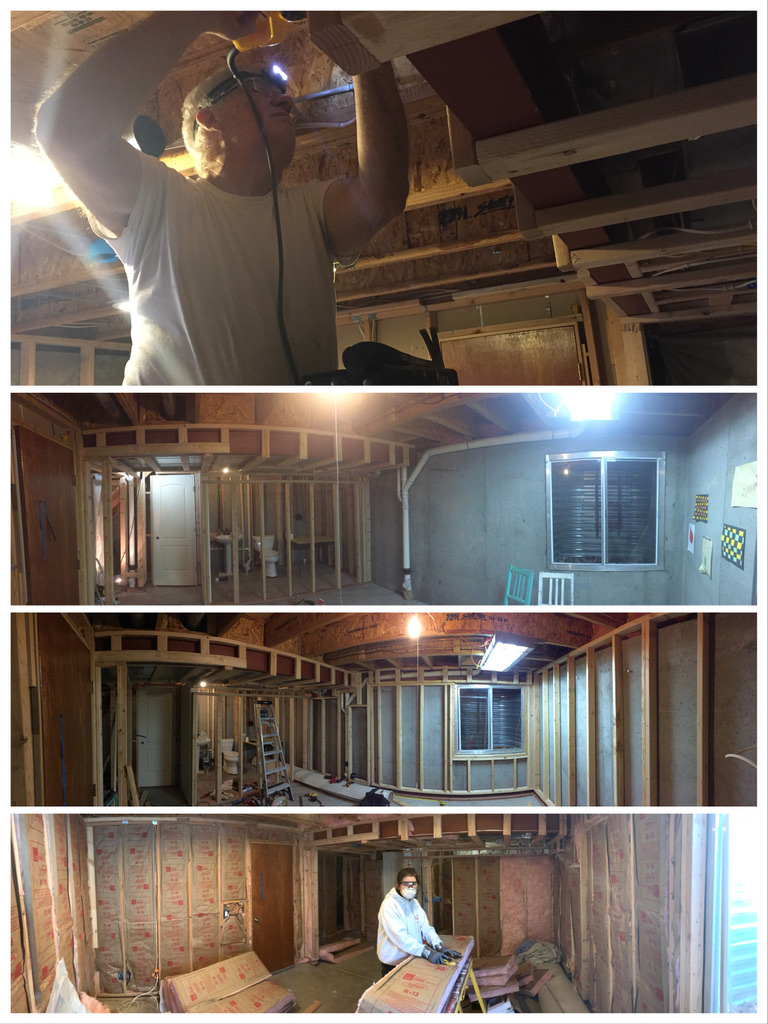
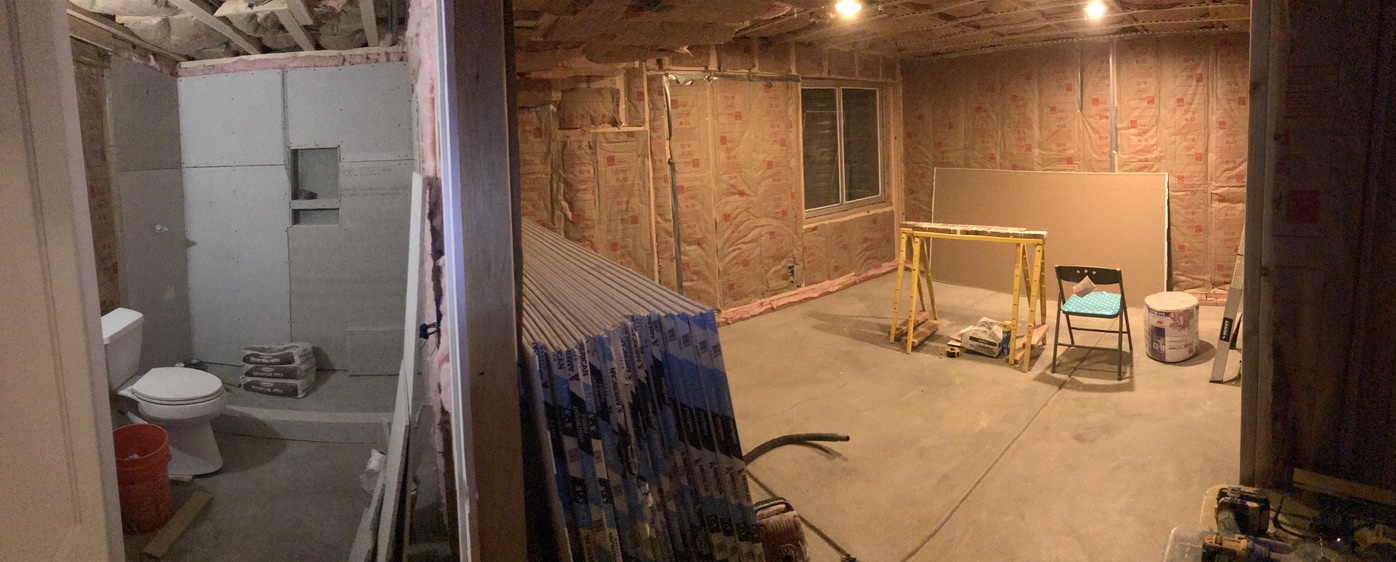
This is the initial framing for the bathroom. I’m sad that I can’t find a pano shot of the unfinished concrete basement walls and open areas into the back of the furnace room and underside of the stairs.
Right after this initial framing I installed plumbing and put in a temporary sink and toilet while I started framing the basement walls and soffits around ducts/pipes. The sink drain and shower drain pipe was pre-existing from the house initial construction. The shower drain in the foundation was only ~3.5″ off the wall! This made the shower pan work difficult, but I worked around it by custom manufacturing the shower drain.
Here is a video of Malakhi helping me put together the frame for the bathroom with the palm nailer.
Framing Bath Wall with Malakhi (video)
After some challenging ductwork for the bathroom fan, framing was finished (August ’17), electrical wired (October ’17), and insulation went in (January ’18).
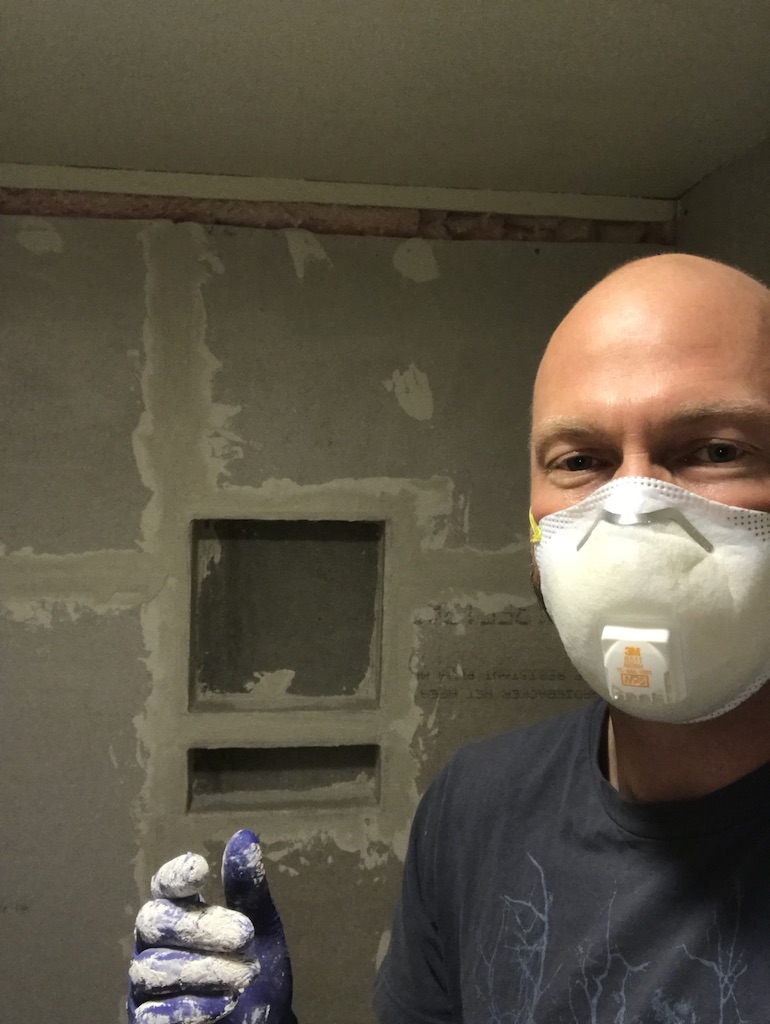
In case you’re interested, that’s a stack of ~22 pieces of 1/2″ drywall at 50lbs each is ~1,100lbs. Thank you, Nate, for helping me carry them down into the basement! The bath hardibacker is installed, but hasn’t been taped+thinset in place yet or the mortar shower pan done.
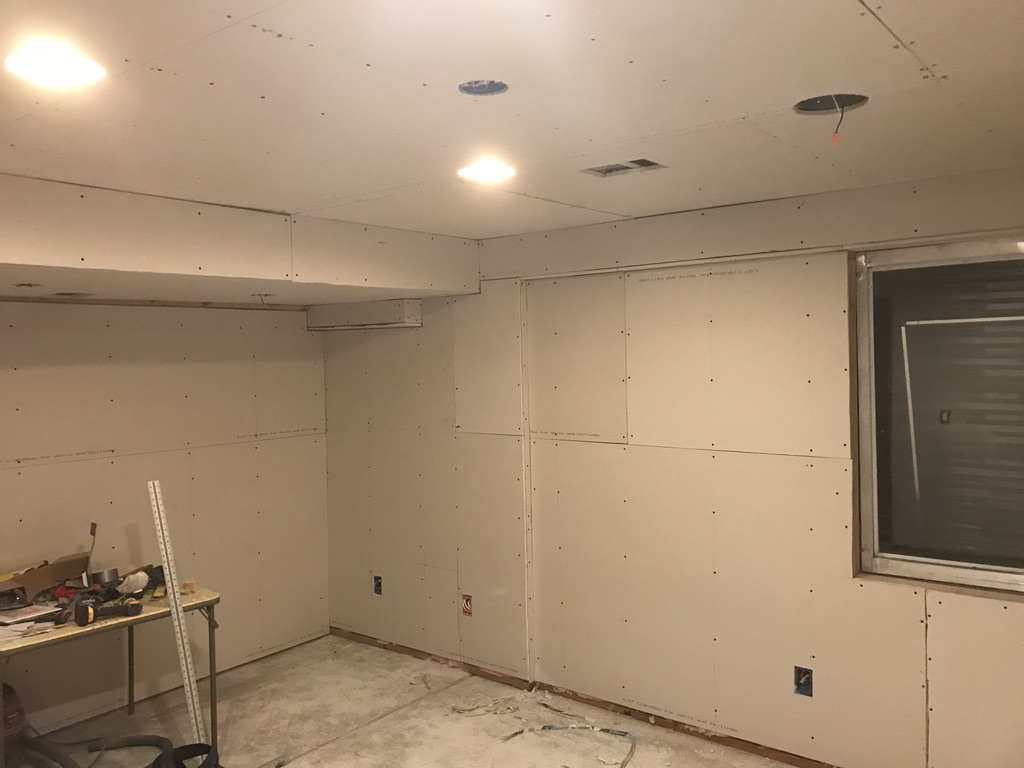
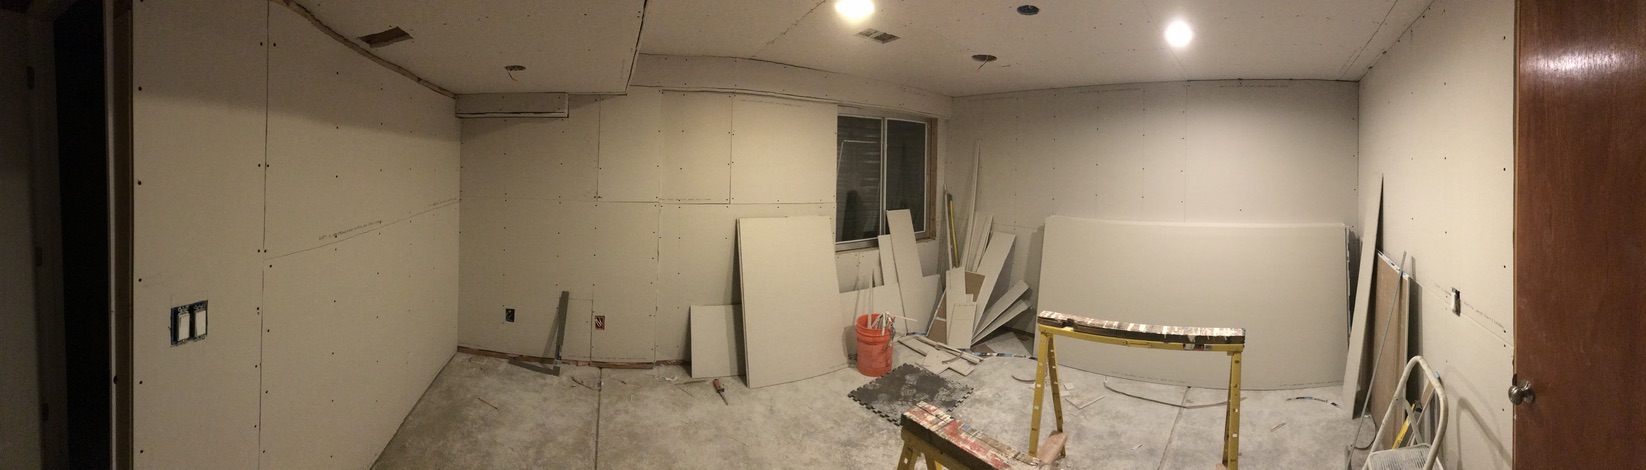
Drywall installed (March ’18), taped, then textured (April ’18). Notice the soffit craziness due to ducts.
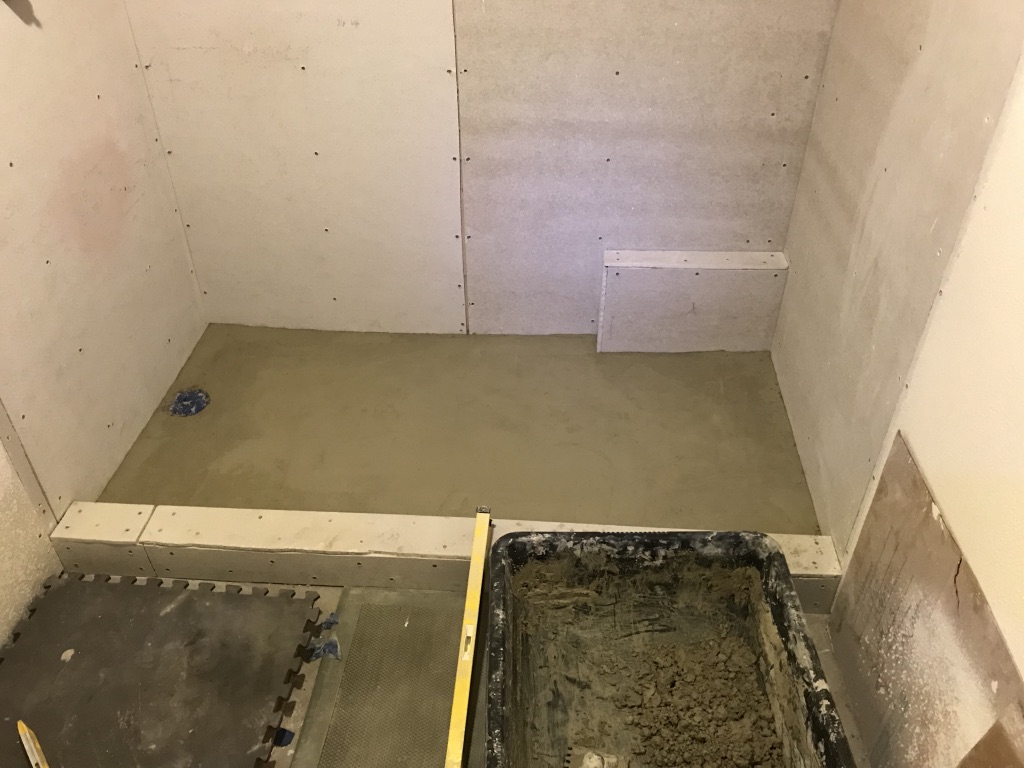
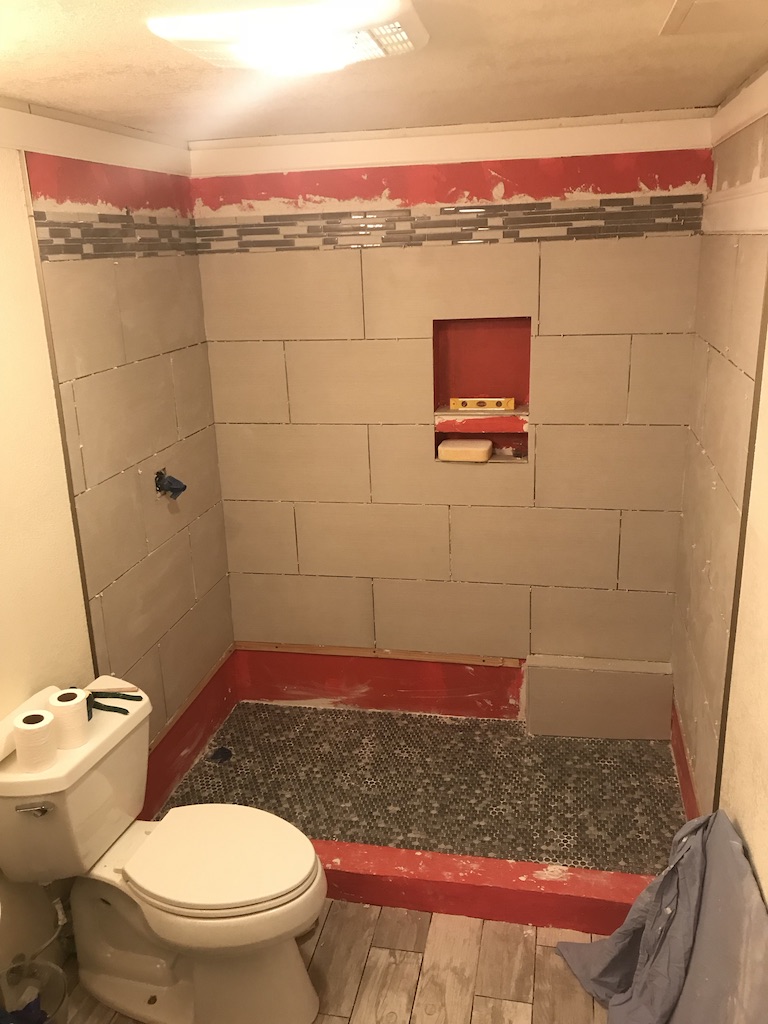
The mortar shower pan starts go go in (July ’18) – first of two layers. Then some Redgard on the curb before tiling the floor. (That little box in the corner is for shampoo and a footrest for ladies to make it easier for shaving.)
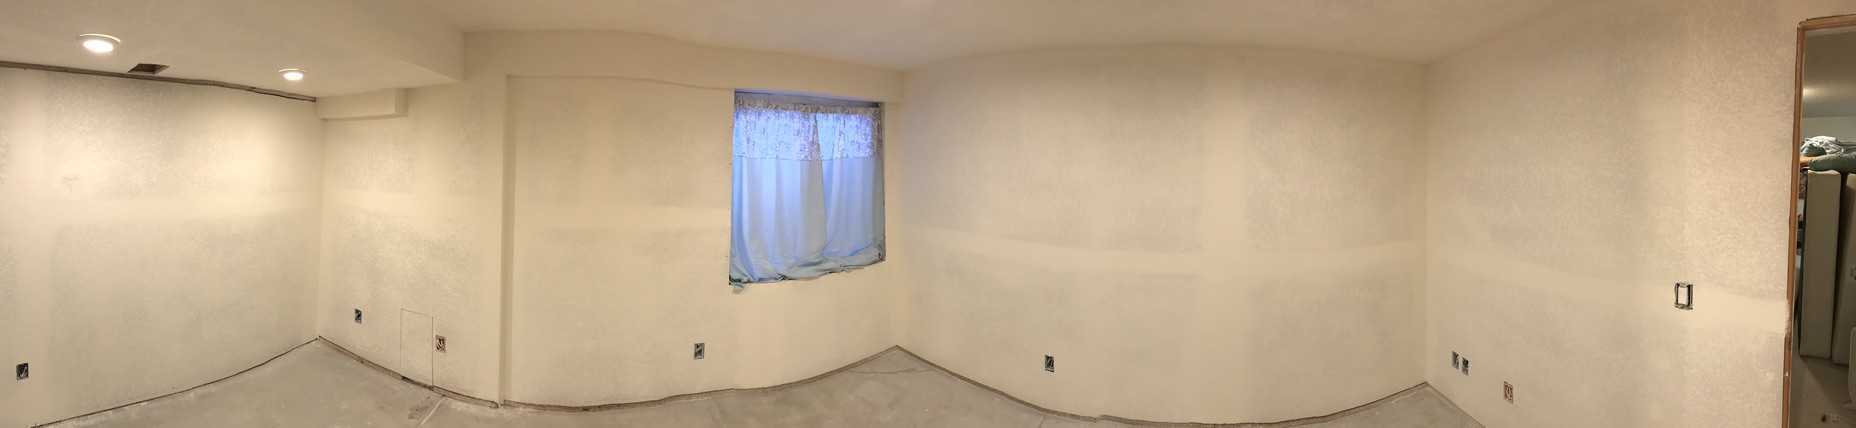
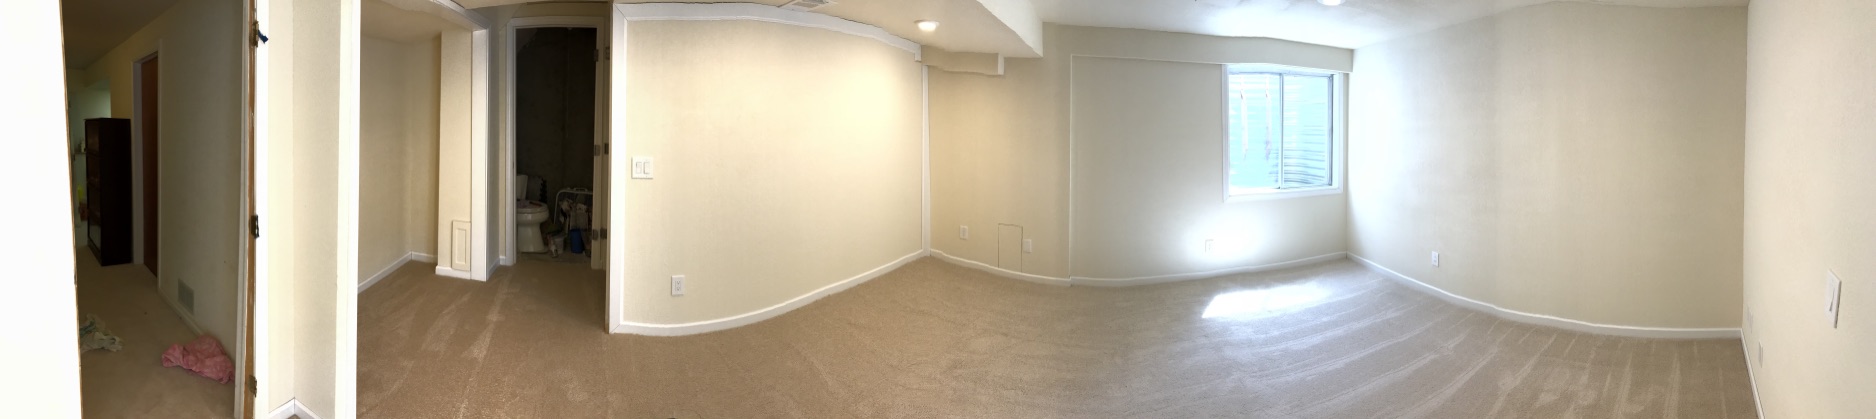
Paint is done. Baseboards and casing go in. Light fixtures and outlets go in (July ’18).
Carpet gets installed – yes, I paid to get this installed rather than do it myself. The closet doors and closet system get installed along with the new bedroom door+hardware (July ’18 and August ’18).
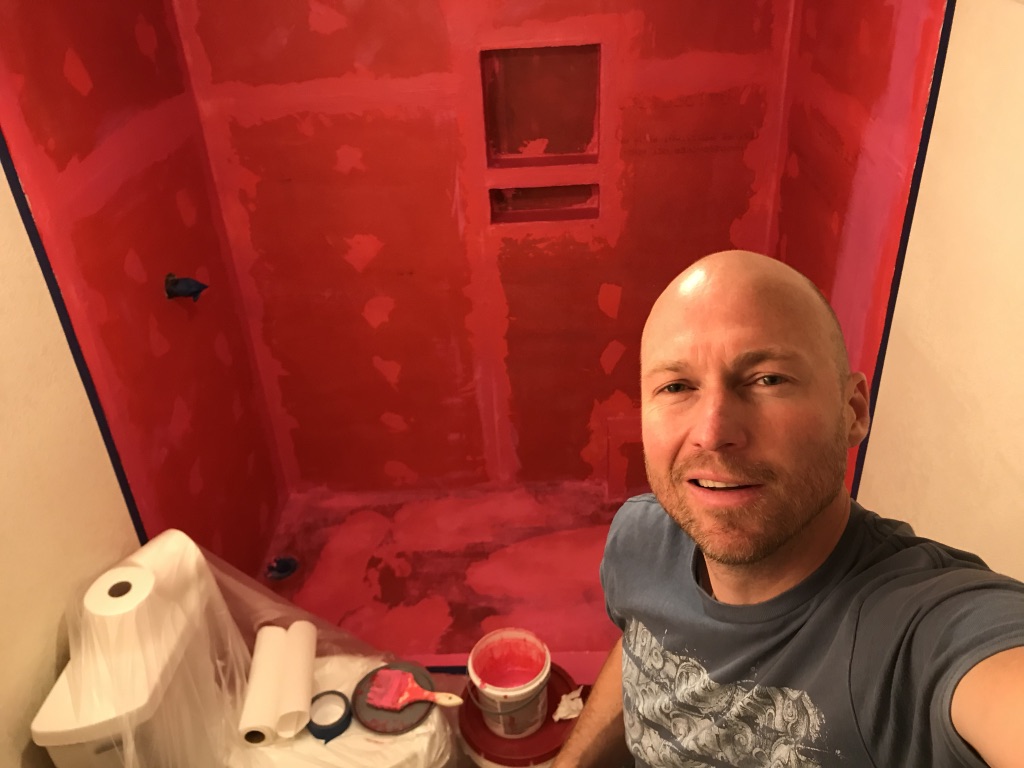
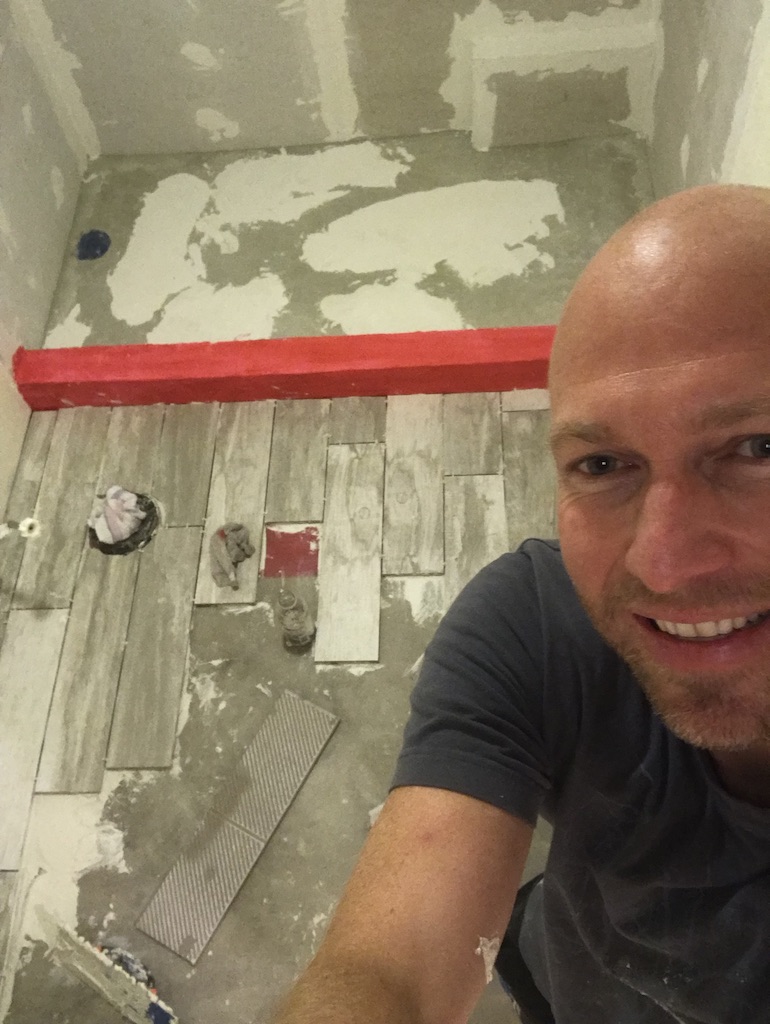
Finally it is time for the bathroom wall tile after Redgard and a second mortar shower pan layer (October ’18 – early November ’18).
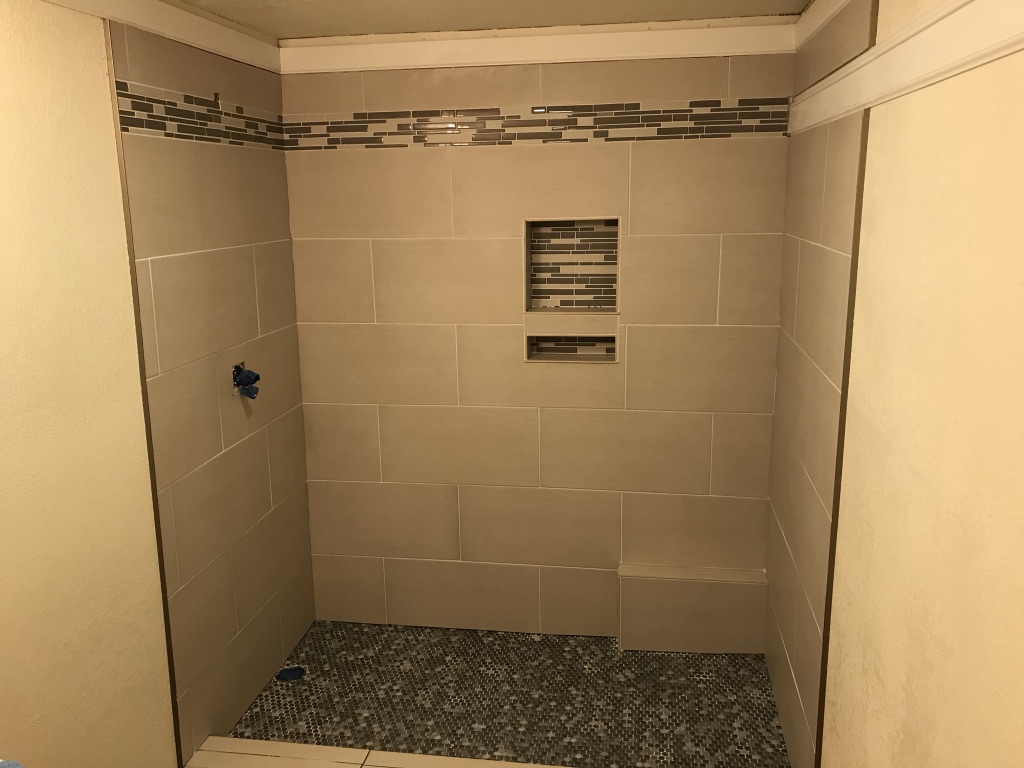
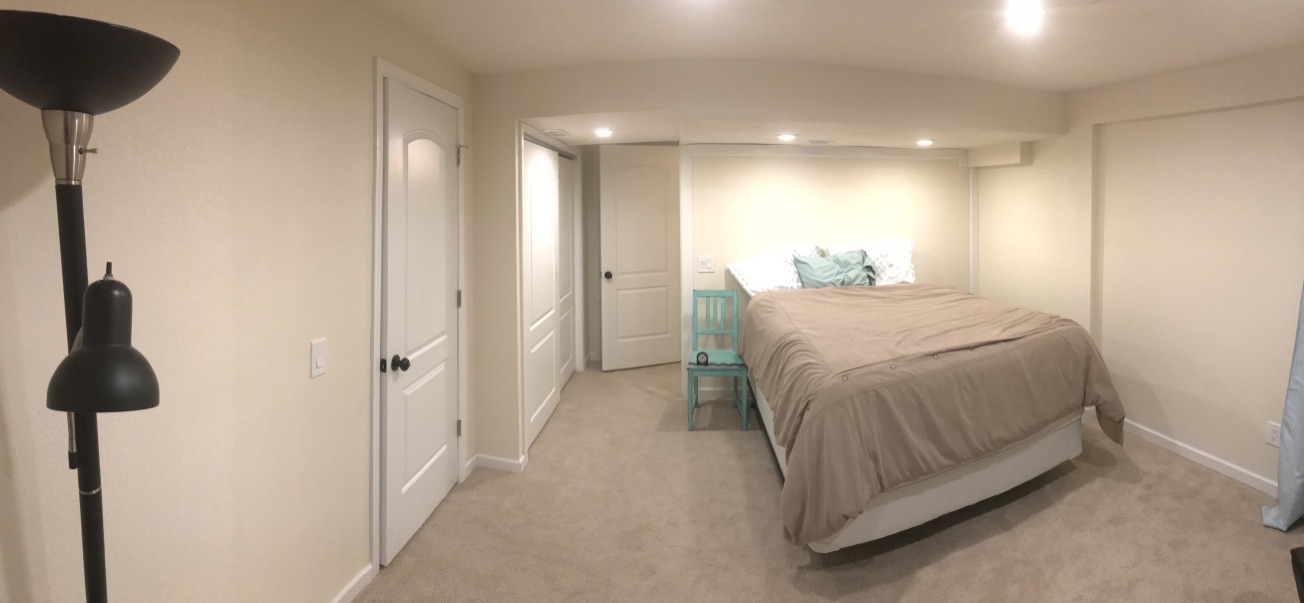
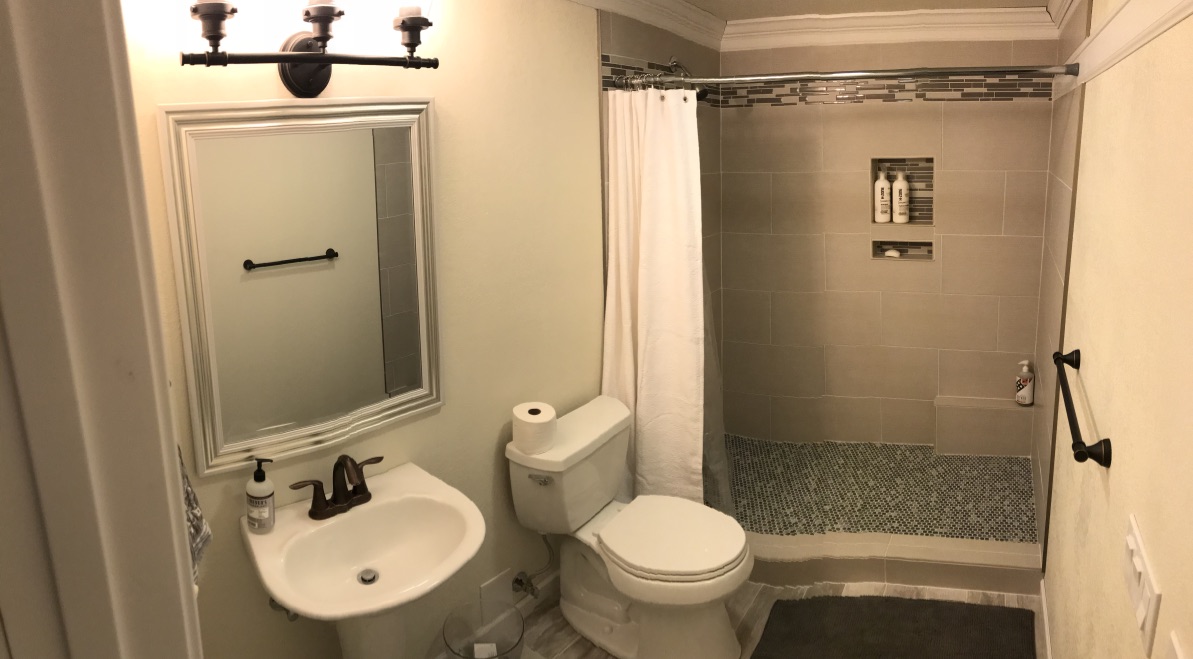
Here is the final result.